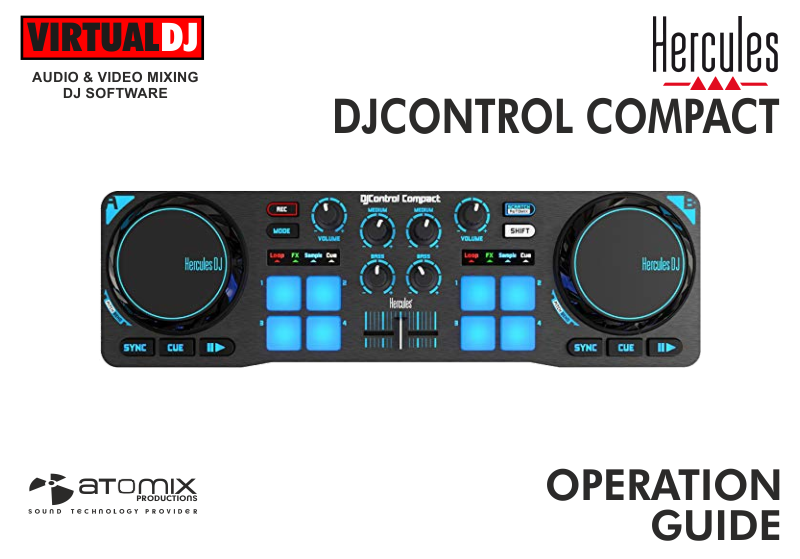
HERCULES DJCONTROL COMPACT
SETUP
Drivers & Firmware
Windows: No driver is necessary to install for Windows computers. However a driver is available at
https://support.hercules.com/en/product/djcontrolcompact
Mac OS X: No driver is necessary to install for Mac OS X computers. However a driver is available at
https://support.hercules.com/en/product/djcontrolcompact
Firmware: (for both Windows & Mac) No firmware update is available at the time this manual was written, but it is advised to check for any updates at Hercules Support Center https://support.hercules.com/en/product/djcontrolcompact
VirtualDJ 2018 Setup
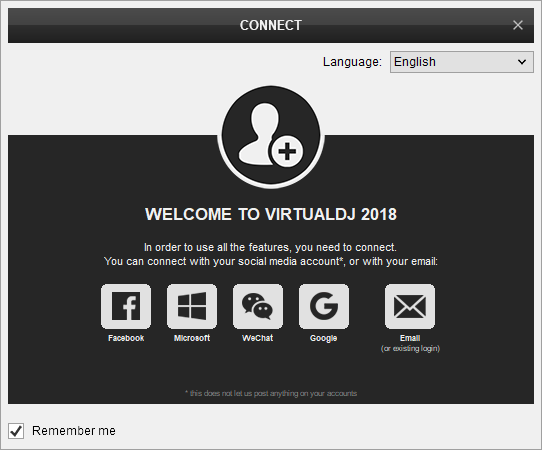
Once VirtualDJ 20188 is launched, a Connect Window will appear to choose one of the available ways to login.
A Pro Infinity, a Pro Subscription or a PLUS License is required to use the Hercules DJControl Compact. Without any of the above Licenses, the controller will operate for 10 minutes each time you restart VirtualDJ.
https://www.virtualdj.com/buy/index.html
Click to OK
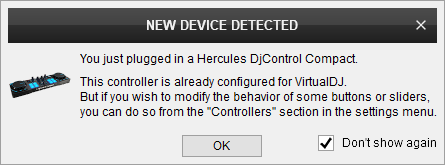
The unit is now ready to operate.
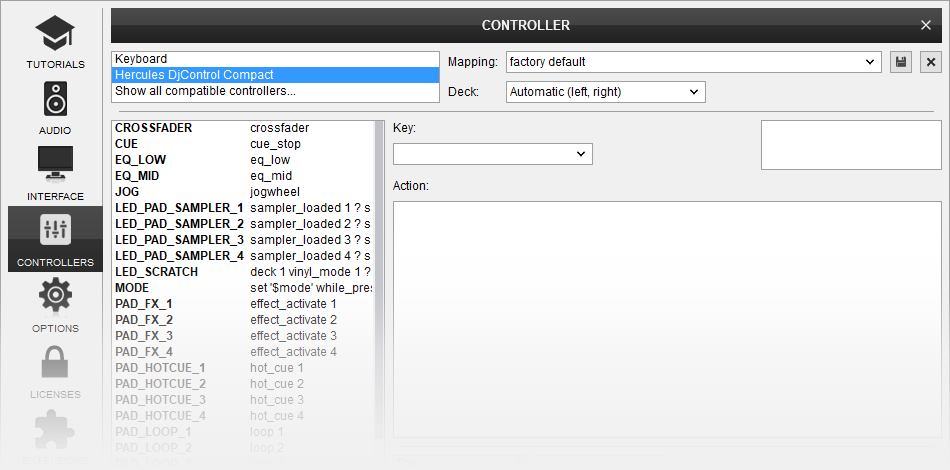
MIDI Operation.
The unit should be visible in the CONTROLLERS tab of Config and the “factory default” available/selected from the Mappings drop-down list. The factory default Mapping offers the functions described in this Manual, however those can be adjusted to your needs via VDJ Script actions.
Find more details at https://www.virtualdj.com/wiki/VDJscript.html
AUDIO Setup
This unit does not feature a sound interface. A separate sound interface will have to be used. Please refer to the manual of your sound interface or at VirtualDJ 2018 Manual for possible audio configurations https://www.virtualdj.com/manuals/virtualdj/settings/audiosetup.html
For further software settings please refer to the User Guide of VirtualDJ 2018.
https://www.virtualdj.com/manuals/virtualdj/index.html
CONTROLS
KEY
ACTION
SHIFT (SECONDARY) ACTION
Preview track when paused while button is pressed
Jumps and stops to the Cue point when playing[
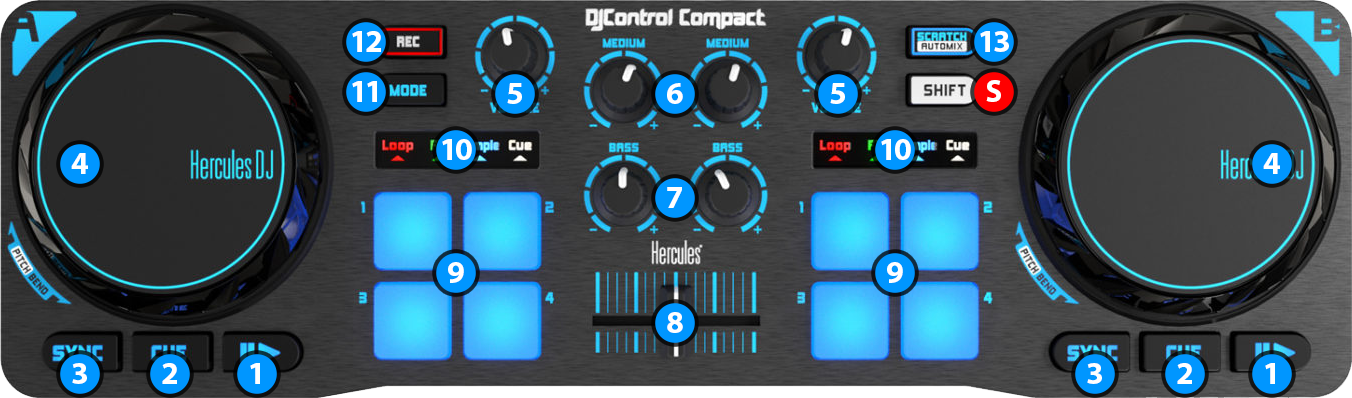
PADS
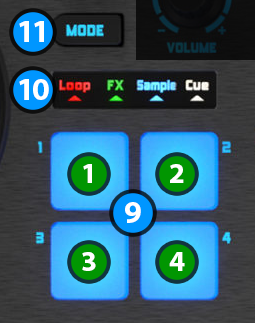
Hercules DjControl Compact offers 4 pads (9) that operate differently depending on the selected pad mode. Four different pad modes are supported:
Loop Mode, FX Mode, Sampler Mode and Hotcues Mode.
To select a mode for the left/right deck you need to hold down the "MODE" button (11) and then press one of the pads on the corresponding deck. While MODE button is held down, pads will blink to indicate that pad mode selection mode is active.
Once you select a mode the MODE DISPLAY LEDs (10) will change to show you the active pad mode.
LOOP MODE
To change pads to Loop Mode hold down MODE button and press the first pad.
In this mode each pad toggles an automatic loop of predefined length in beats:
KEY
ACTION
SHIFT (SECONDARY) ACTION
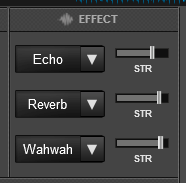
FX MODE
To change pads to FX Mode hold down MODE button and press the second pad.
In this mode each pad toggles an effect:
KEY
ACTION
SHIFT (SECONDARY) ACTION